Introduction
WorkBench has the ability to select multiple items and modify some attributes and categories using the Properties dialog.
However, what if you wanted to add data into selected item’s FRAMES?
In this example, we will show how this can be achieved using CSV export / import.
Adding data to multiple selected item FRAMES
Create a CSV File
- Export your item type to CSV. You only need to map the default attributes Identity, Type, Draft and Version that are already pre-set. The other attributes/frames/categories do not need to be exported.


Export Items Dialog 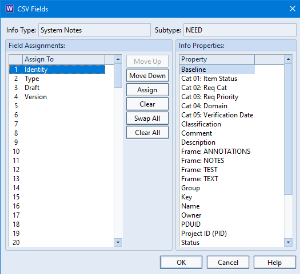

Setting Required Attributes - Open the CSV file in Excel and add a column representing the new frame.
In this example, we are adding a new frame named TEST and adding the text “My Text” in this frame for all (or selected) items.
You could, of course, add different text content for each of these cells.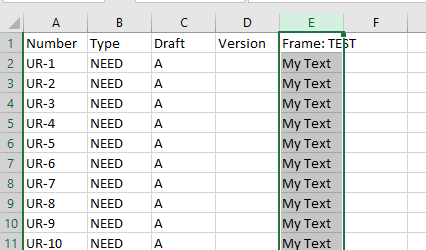

Add Frame Column to Excel Add a Frame in your WorkBench Project
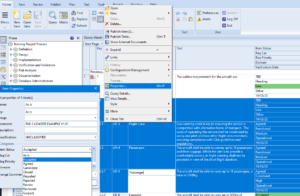
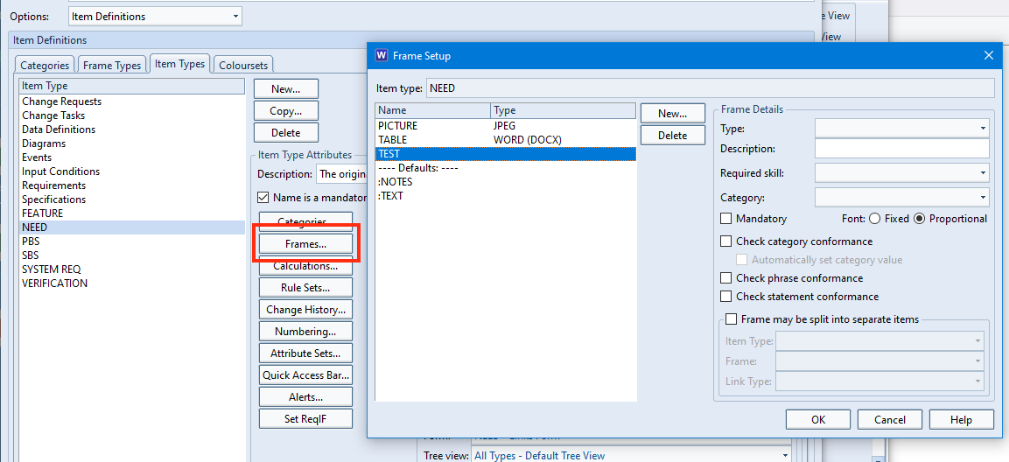
- If you don’t already have the frame, you can add a new frame to the item type in Project Setup now. This is the frame where we will add content en bloc.
Importing The CSV File
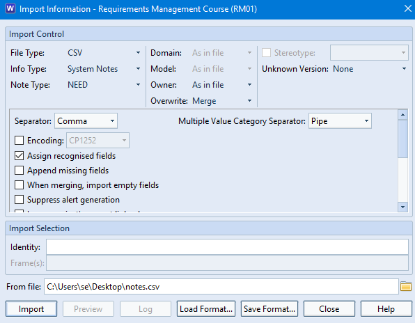
- Select Import with the file type CSV and the required item type ensuring that the Overwrite option is set to Merge and press Import.
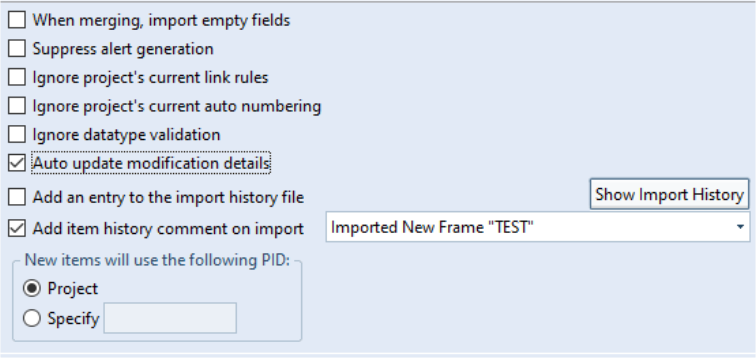
Note also that there are options here to update the modification date / last modifier and also whether to add an entry to the items’ edit history.
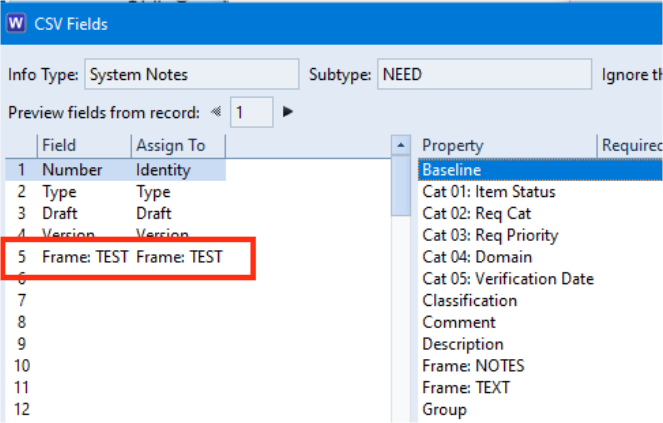
- Map the fields ensuring that the added frame is mapped
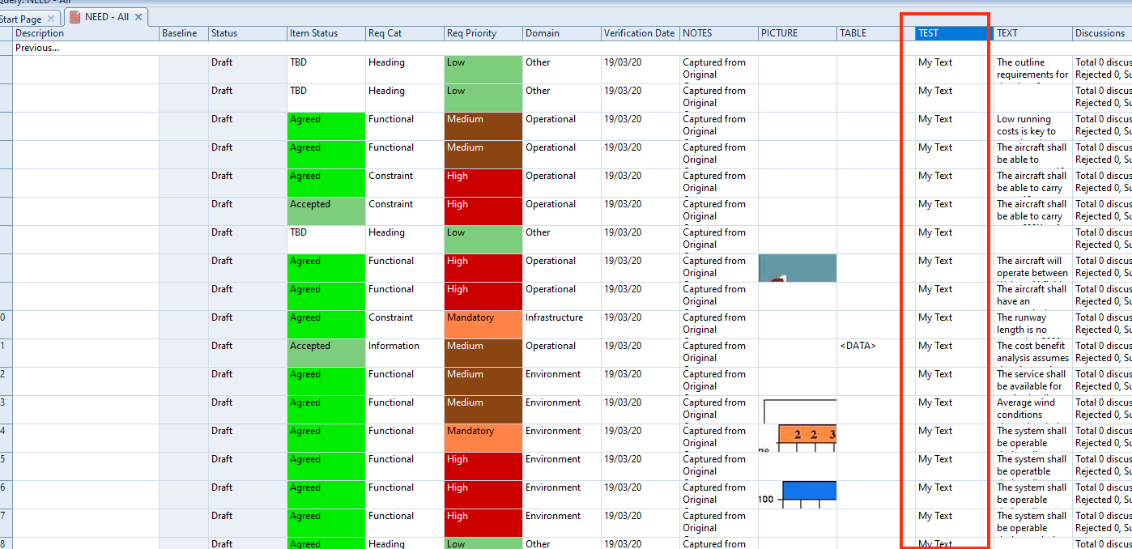
- You will see that the new frame has been added with content for all items and the previous content remains intact