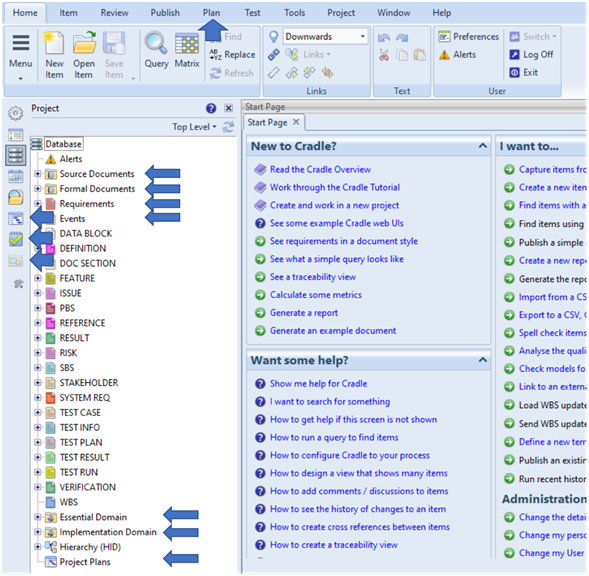
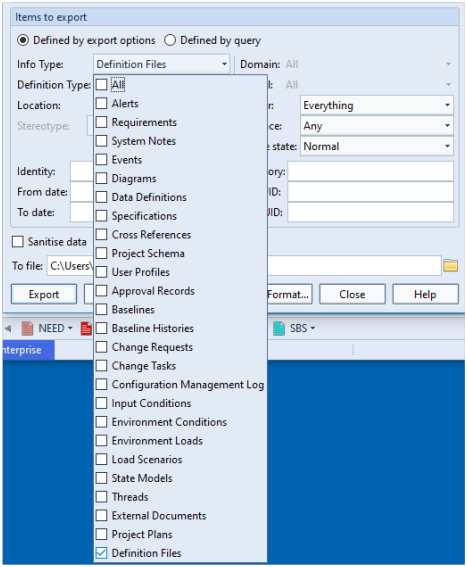
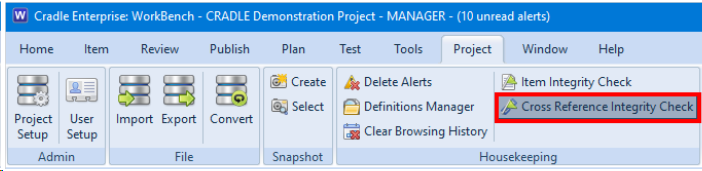
This blog follows on from our previous blog about project integrity checks. Here we discuss a second project integrity tool which concerns the validity of cross references. This can be found in the Project ribbon:
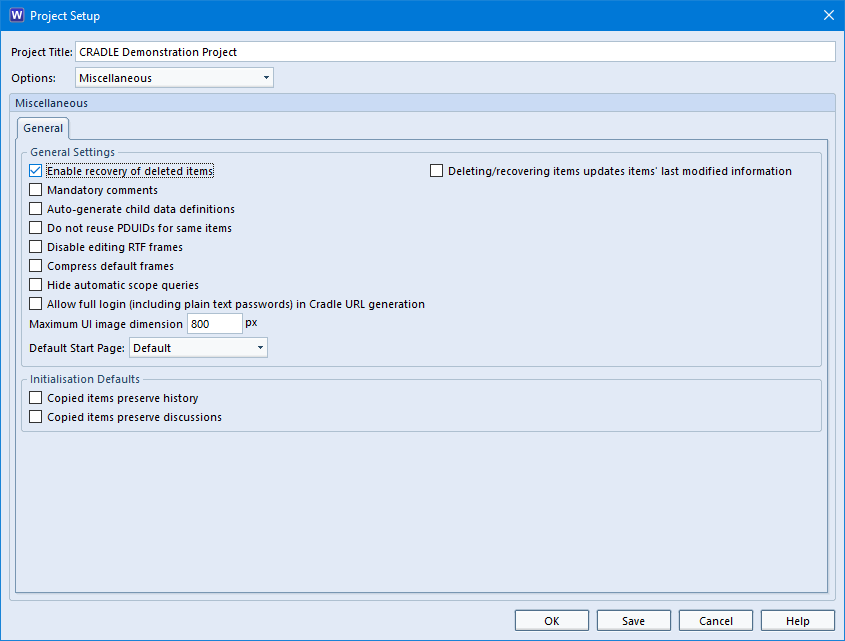
As with the Item Integrity Checker, the user MUST have ACCESS_BYPASS privilege to instigate any changes to the data. It is highly recommended that there are no other active users in the database.
In fact, we would recommend locking a project using Project Manager prior to using these utilities if you cannot be certain that other users would not try to log on during the process of running the utilities.
Also, it is highly recommended to back up your database and/or create a snapshot prior to instigating any changes using these utilities.
For details about snapshots, refer to the following help page.
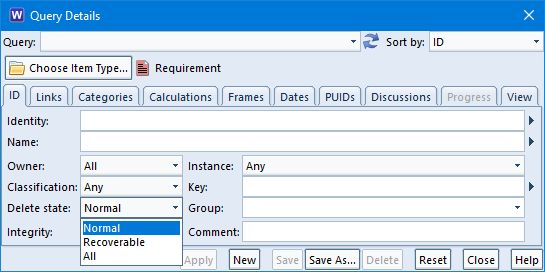
Cross Reference Integrity Checker
The Cross Reference Integrity Checker consists of several checks that compare the links found in the database with the rules specified in Project Setup. Some of the issues found can be repaired with a single click.
There are some checks that would not be required in normal Cradle usage but could appear as a result of an import. An example of this could be due to the fact that Cradle has the ability to import cross references independently of any item types and specify the from item and the to item. These items referred to in the cross references by their identity attribute, might not exist in the database so this is an example of a dangling cross reference.
Cross Reference Integrity Checks
Other checks are:
- Duplicate cross references
- Reversed hierarchical cross references – where the from item has an identity that suggests it to be the child of the to item. For example, a cross reference that is from item 1.2.3 to item 1.2. The usual action is to fix the cross references which will reverse them.
- Cross references to be reversed – where the link rules specified in Project Setup state that the link between the checked items should be in the opposite direction in order to be valid.
- Cross references needing a new link type – where it detects cross references that are invalid according to the current link rules but which become valid if their link type is changed
- Invalid cross references
- Cross reference cardinality – detects cross references whose cardinality does not match the current link rules
- Cross reference attributes – checks the cross reference attributes, e.g., if there was information in a cross reference attribute (e.g. Reason) and was removed in a way other than through the UI, this check will flag the cross reference.
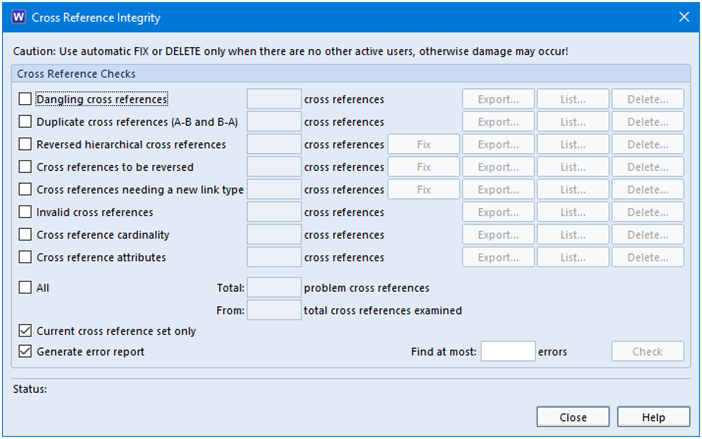
These checks will provide both a report and a summary in the dialog.
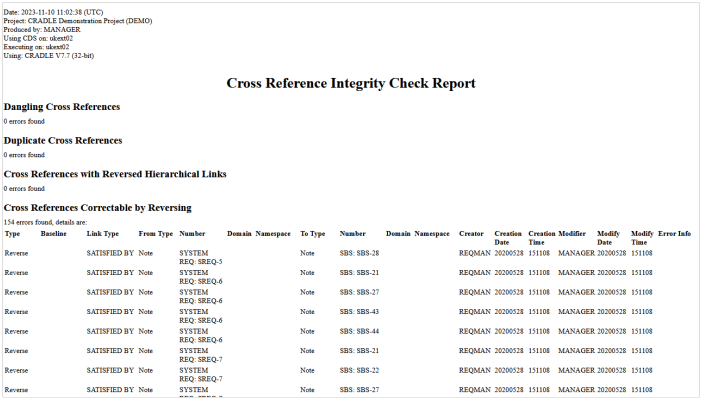
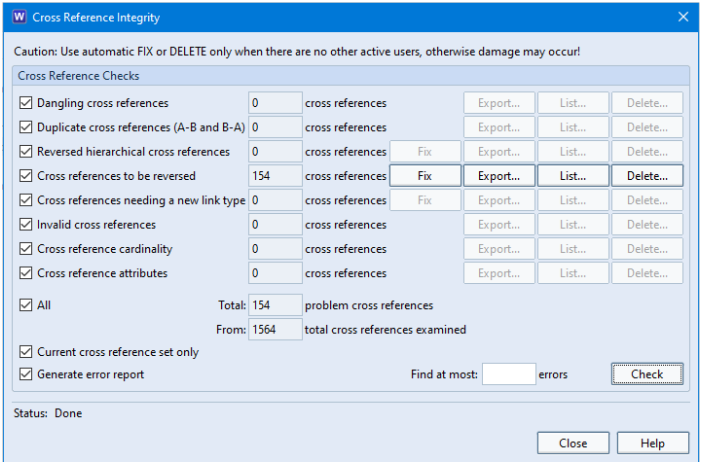
In this example, 154 of the cross references that exist in the database would be valid if they were reversed. So clicking the Fix button would repair those links with a single click.
Summary
We have addressed some of the checks that can be run on items to confirm the validity of cross references.
Please remember that the user MUST have ACCESS_BYPASS privilege to instigate any changes to the data. It is highly recommended that there are no other active users in the database.