Generating Document Publisher Tables
There are various methods of generating Document Publisher tables. This short post provides a brief explanation of the following methods:
Table Tag
A Table tag allows you to generate uniform tables where the resulting items are reported in rows. This can be a list of individual items or links to other items using a defined hierarchy. Below shows an example definition of both.
- Insert a Table tag:


Insert Table Tag button - Add Field tags into the table cells:
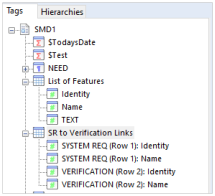

Field Tags 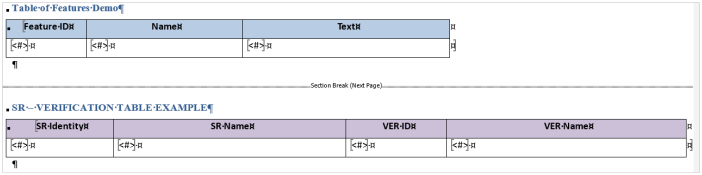

Tables in Document Publisher This will output the examples below:
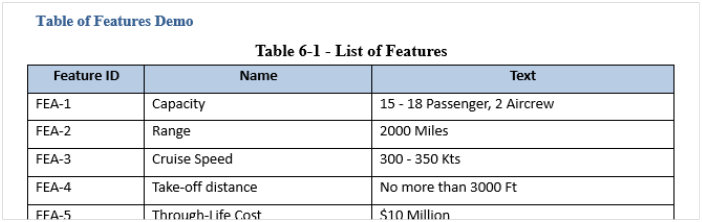

Table showing FEATUREs
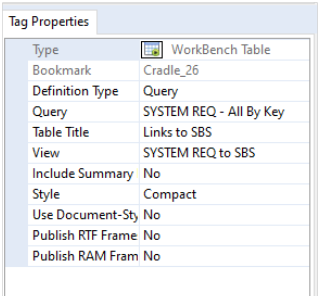
WorkBench Table Tag
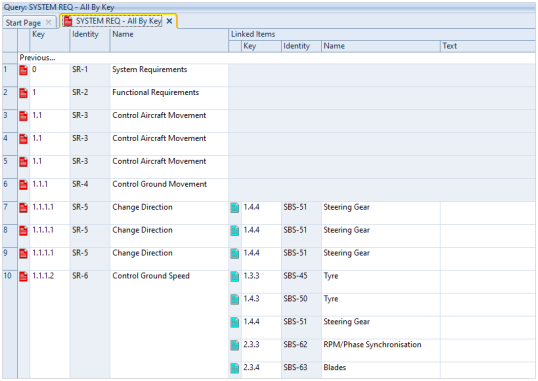
Many tables will probably have been used as a result of queries in WorkBench. For example, one shown here is a list of System Requirements linked to SBS items:
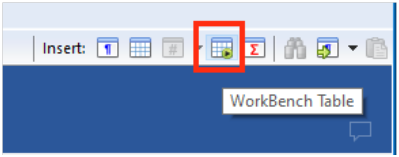
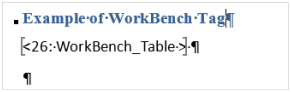
These tables can be used as a WorkBench Table tag in a Document Publisher output:
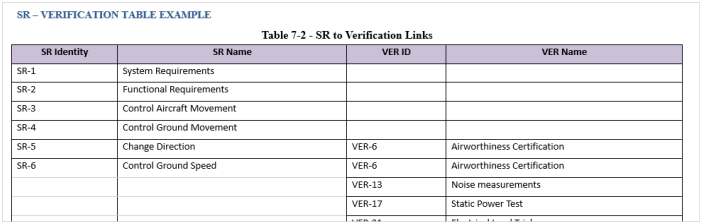
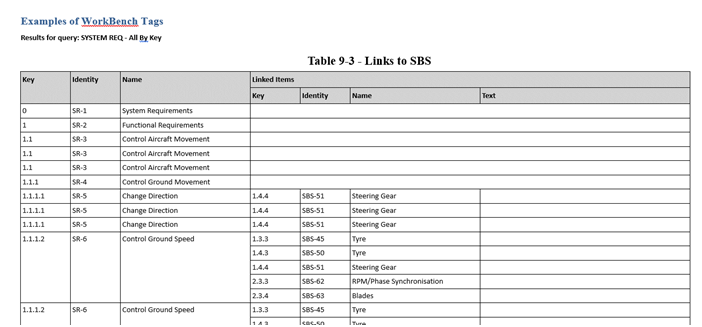
This is a quick and easy method of producing tables without any need for defining Field tags as the table attributes are already defined in WorkBench. An example output is shown below:
Inserting into Table Cells
Document Publisher also provides the ability to insert data into table cells by the use of a special Computed Insert_Table_From_Bkmk Field tag. The steps to achieve this are:
- Insert a Word table and format as appropriate:
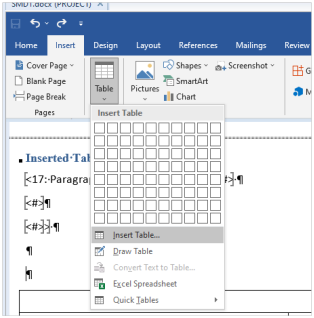

Word Insert Table option 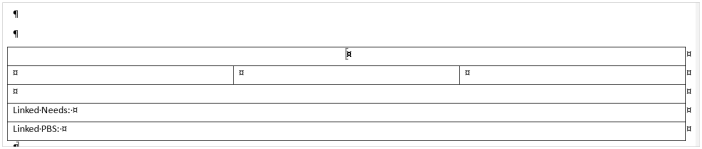

Inserted Word table - Highlight the table and insert a Word bookmark:
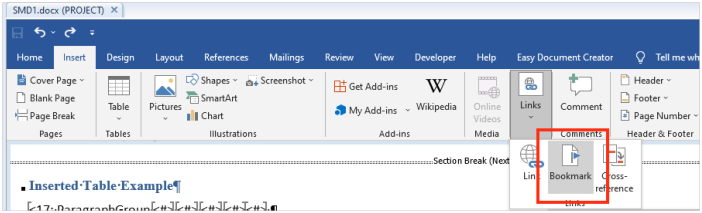

Insert Word Bookmark option - Before the table, insert a Paragraph Group tag and define the item type that you would like to shown in the table. For example – FEATURE items:
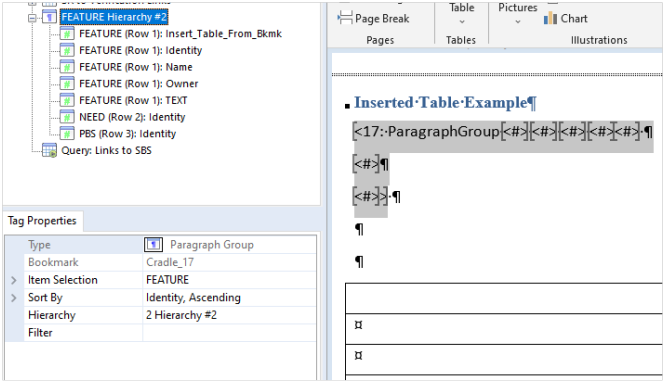

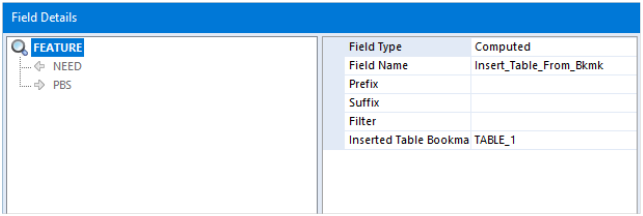
Example Paragraph Group tag - The first Field tag is very important as this specifies that the fields are going to be inserted into the table using the bookmark TABLE_1 that was defined. In this example, we also create a hierarchy to show linked NEED items and PBS items:

FEATURE hierarchy - In subsequent Field tags, you can insert into a specified row and column of the table. In this first tag, it is inserting the FEATURE identity attribute into cell column 1, row 1:
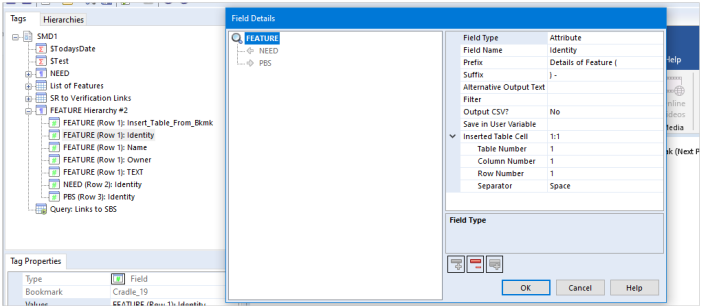

Inserting FEATURE identity - You can see here that another one of the Field tags is inserting the FEATURE TEXT frame into column 1, row 3 of the table:
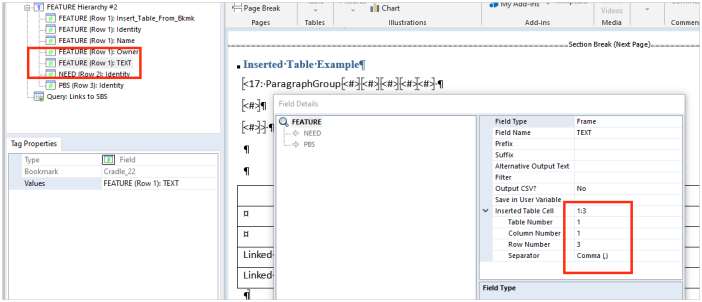

Insert FEATURE TEXT frame
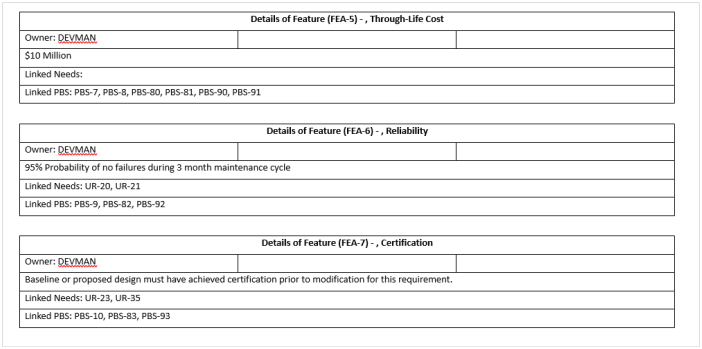
Once you have specified all of the cells to be populated in the table, this can then be published like the example shown below: