Work Experience – Introduction
Work Experience is a chance for young people to gain knowledge of what an average working day in a certain place is like. It is also used to demonstrate how to handle the step from school to work.
St. Bernard’s school have recently sent year 10 on a week’s work experience to various work placements from 11th to the 15th February 2019, one of them being here at 3SL.
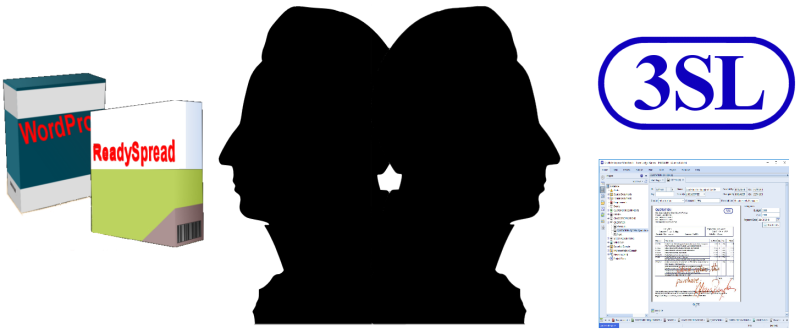
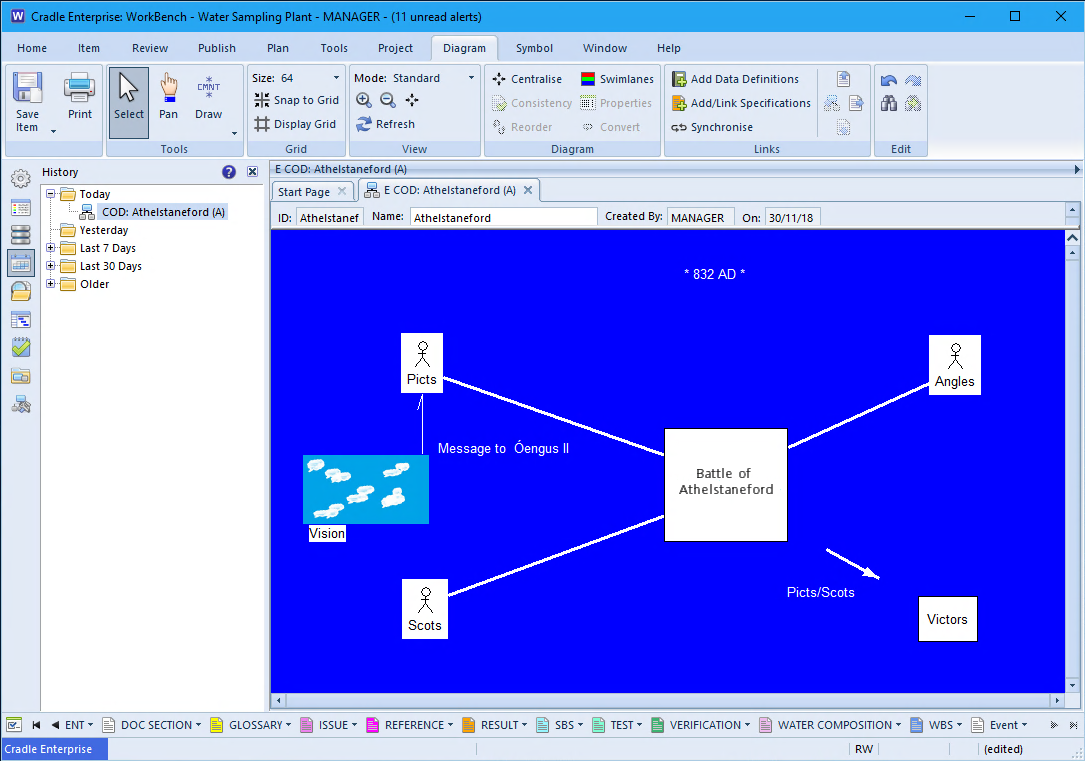
The first day , Monday included the introduction to the workplace and what it was about. The product produced is called Cradle, after a brief introduction we were given a Tutorial on how the product functioned. This meant that over the week tasks that included the use of Cradle became easier to do.
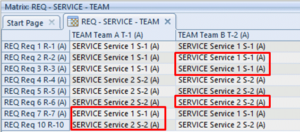
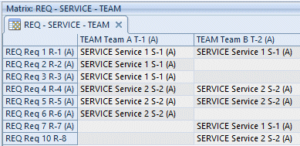
The second day required knowledge of Cradle, as the main task was to test functions from the previous update – 7.4 . One test being shown below;
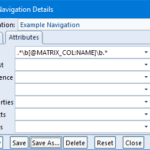
Testing Example
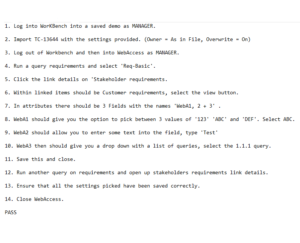
for Cradle 7.4 with a pass
Our task was to go through each test and find out if it passed and if not why not , above is an example of one of the tests that was passed.
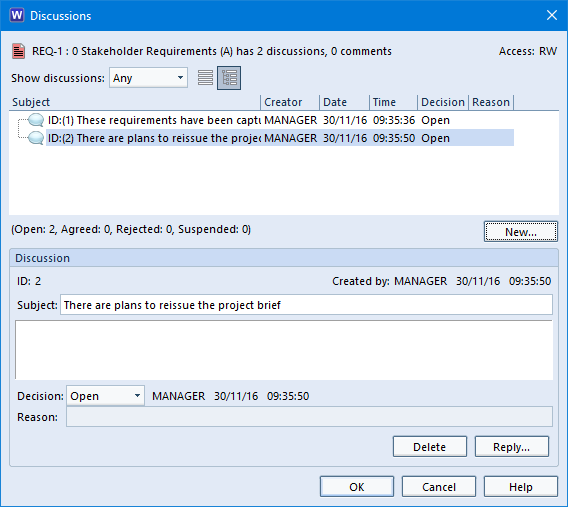
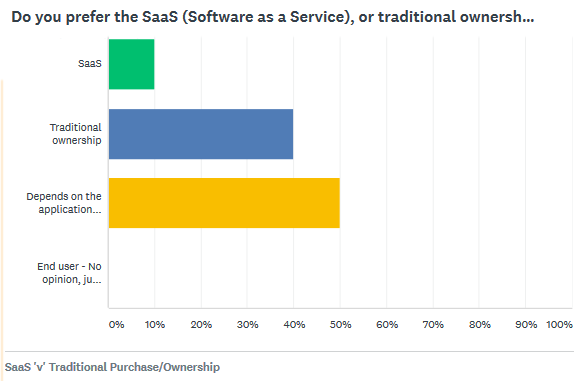
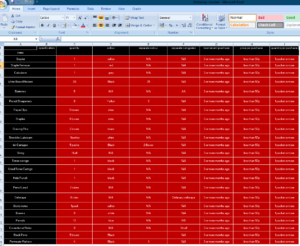
The third day – Wednesday called for the design of a data set. The task was to present understanding of the way data was represented. The task was done by entering the stationery into a database that was started from scratch.
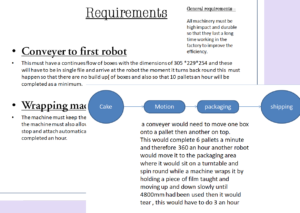
The fourth day was specifically for training for later life – CVs and a mock interview. The morning was set for the purpose of writing the CVs as well as this the day was taken up with a design task. The problem was a pretend company needed a more efficient way of packaging their goods. This had to be accomplished without using unnecessary pay and manual labour. The task – to come up with the requirements needed to accomplish such an operation.
The second part of the day was used for the mock interview. This was a process that gave an experience of being interviewed for a job. Questions that were more general were added. Subject specific questions , all the questions asked were and example of what might be expected in a real interview.
Design task
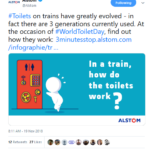
The fifth day, Friday, was used to learn about media and it’s effect on company. This was put into effect by the job of writing about the tasks set during the week of work experience . This was to be posted on 3SL’s website.
At the end of the week , the experience was used to teach about the work environment and what to expect after the jump from school to work.
Josh B , Iwan C – St Bernards
click here for St. Bernards twitter feed