An overview of the Toolsuite Products in Cradle Software
Toolsuite is a set of tools which utilises the applications in Microsoft® Office. These tools will only work on a Windows environment utilising MS Office from 2007 and up.
Supported Versions and Platforms
The Toolsuite supported versions of MS Office are:
- 2007 32‐bit
- 2010 32‐bit and 64‐bit
- 2013 32‐bit and 64‐bit
- 2016, 32‐bit and 64‐bit
Any of the Click To Run (CTR) Office suite is also supported by Cradle Toolsuite.
This can be on any of the following Windows platforms:
- 7 32‐bit and 64‐bit
- 8.1 32‐bit and 64‐bit
- 10 32‐bit and 64‐bit
Also it can be installed on the following servers:
- 2008 R2 32‐bit and 64‐bit
- 2012 64‐bit
- 2012 R2 64‐bit
- 2016 64-bit
Tools
The different tools within the suite utilise the following Office applications:
- Word
- Document Loader for loading documents
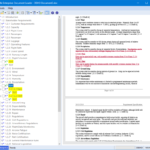

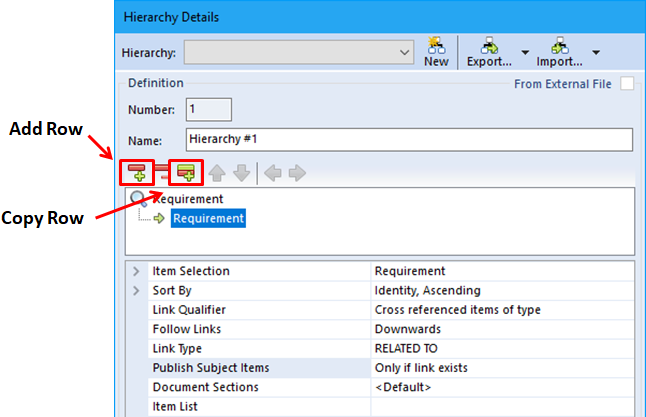
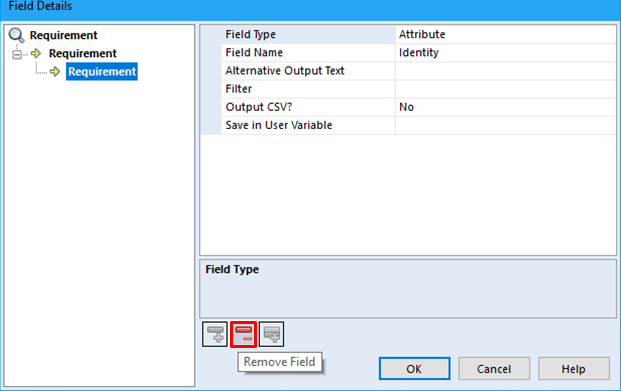
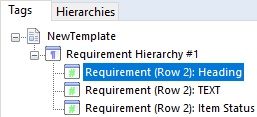
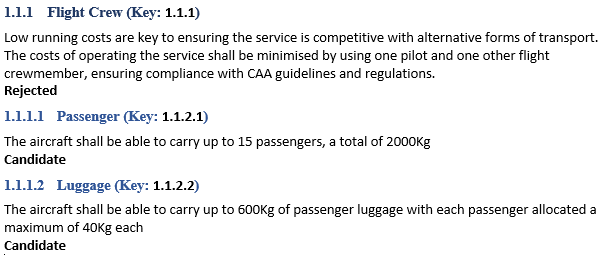
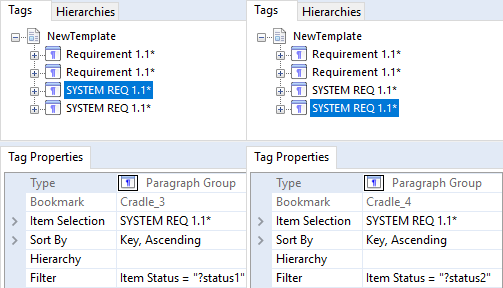
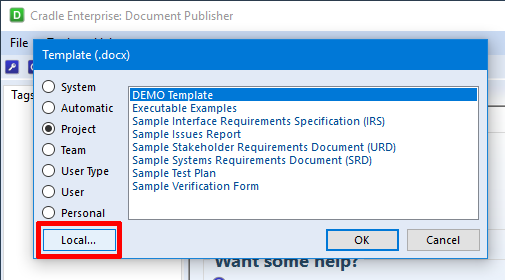
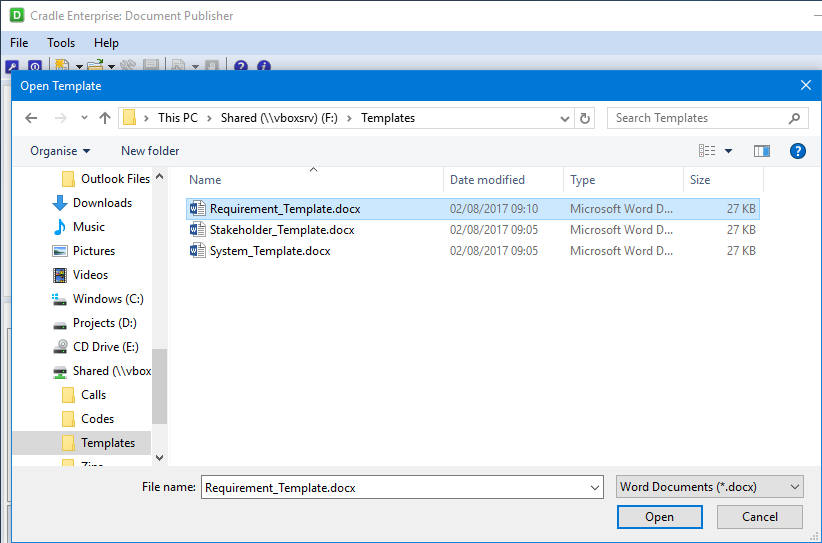
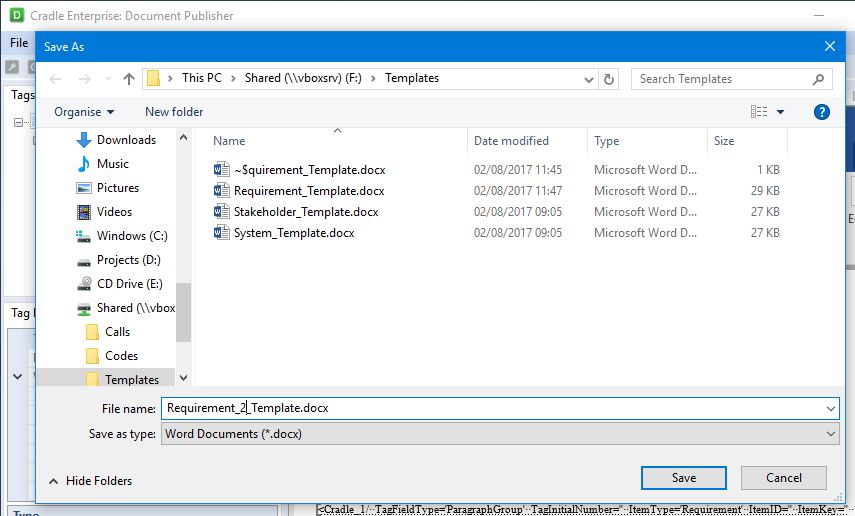
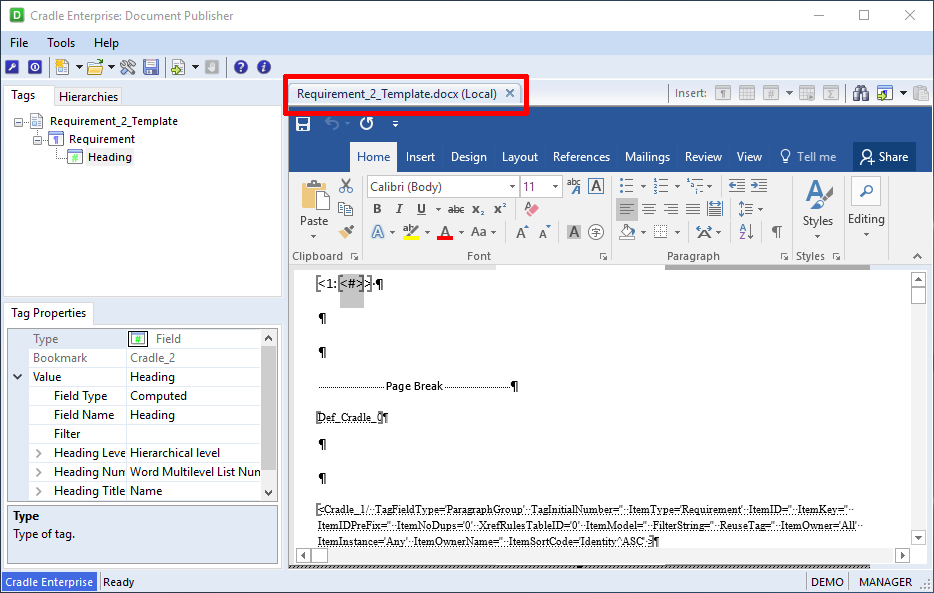
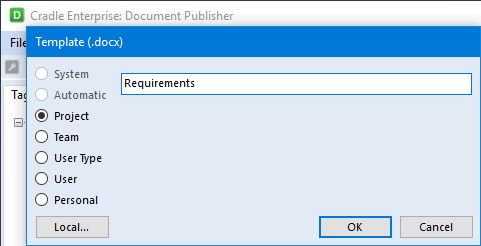
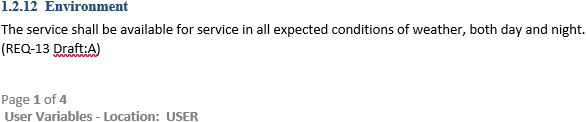
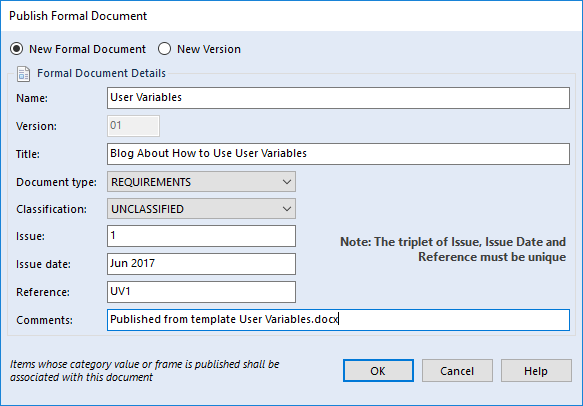
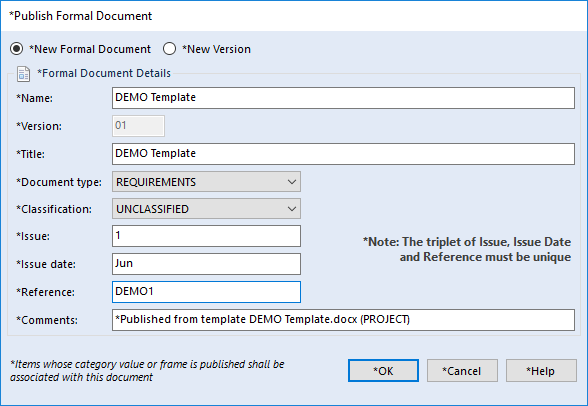
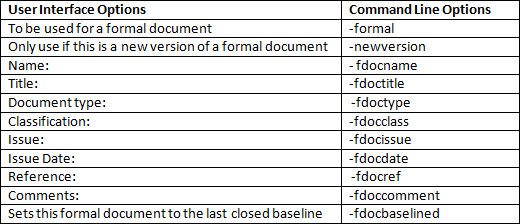
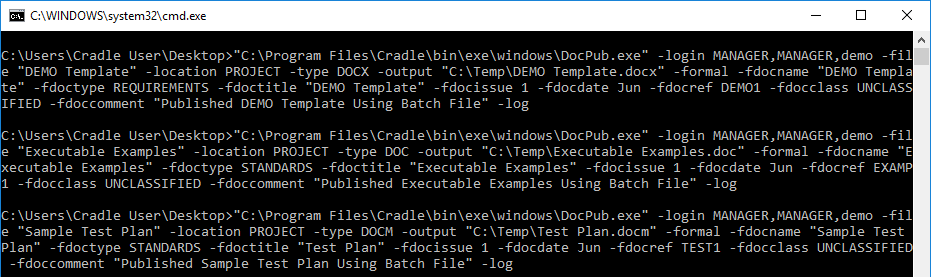
Document Loader Screen - Document Publisher for creating and printing of official documents
- Spellchecker to check the spelling in item frames
- Word/document frames for items e.g. .doc and .docx frames
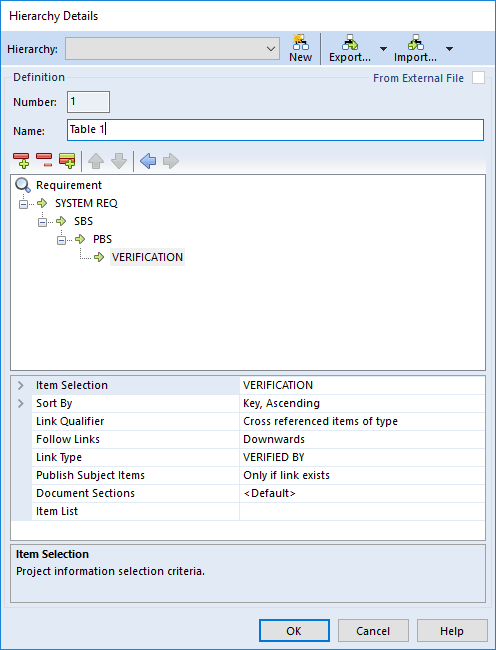
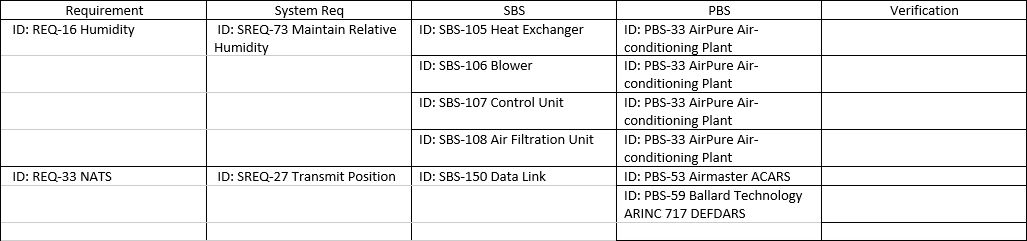
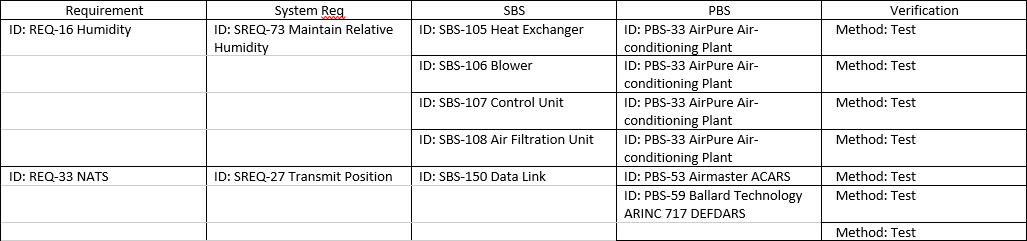
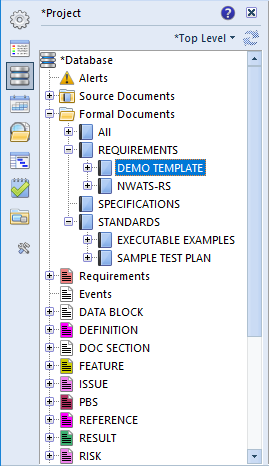
- Document Coverage shows the items covered by a document
- Document Compare compares different versions of source documents against each other
- Word frame to RTF Frame converter
- Document Loader for loading documents
- Excel
- Add-in for imports
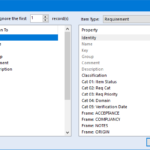
Excel Add-in - Excel frames for files
- Add-in for imports
- Project
- Add-in for importing and exporting to a project file
- Project frames for files
- Visio
- Plug-in allows import of pages and symbols as items
- Visio frames for files
- PowerPoint
- Allows WorkBench to print diagrams to RTF and convert the file to PowerPoint presentations.
Installing Toolsuite
For a successful install of Toolsuite, the MS Office needs to be of one version and not mixed versions. For example, if the user has Word/Excel 2007 but Visio/Project 2013, the plug-in or frames for Visio/Project 2013 is not installed. The installer automatically checks for the architecture of Word/Excel as each MS Office version needs different library files installed by Toolsuite. All other MS applications versions are disregarded if a different version to Word and Excel.
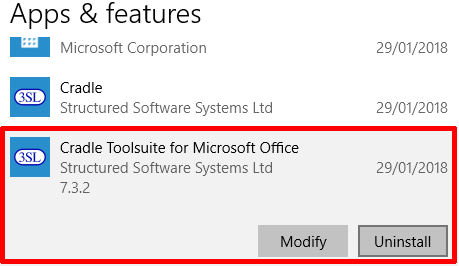
Upgrading or changing MS Office
If upgrading or changing your Office then you should always uninstall Toolsuite first. Once Office is upgraded or changed, Toolsuite can be reinstalled to allow the correct library files to be installed.
The user doesn’t need to download a separate Toolsuite installer but can find the installer within the main Cradle install folder.
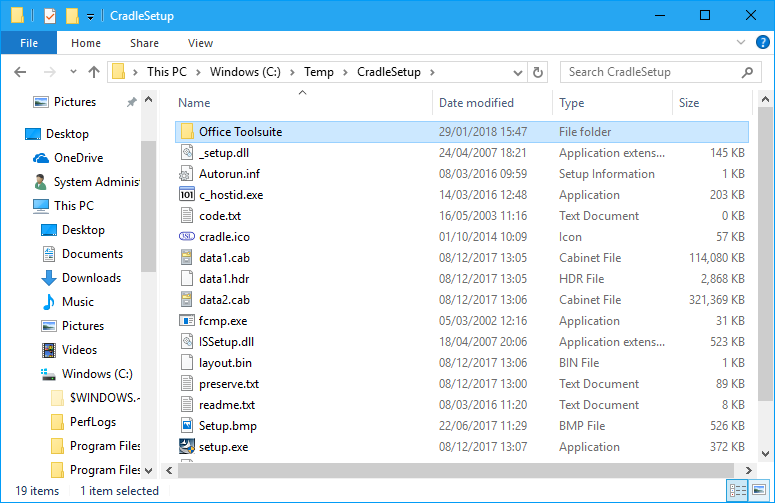
During the install the InstallShield will automatically pick the version to install based on the version of Word and Excel that are installed.
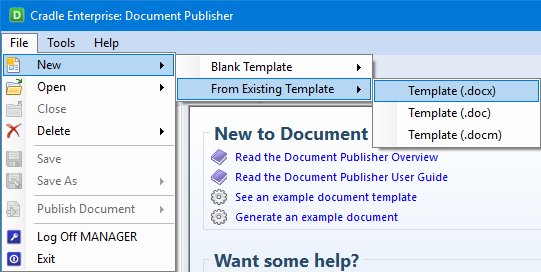
Once Toolsuite is installed successfully, you can access the plug-ins by opening the relevant MS application and selecting the Cradle tab. Document Loader, Document Publisher and Spellchecker are opened through WorkBench, Project Manager or the start menu.
The ‘Word frame to RTF‘ frame converter is accessed via a command line utility. This will take Word frames and copy the data into an RTF frame. More information for using the converter can be found by entering c_word2rtf into the Search bar of our Help system or online at https://www.threesl.com/cradle/help.
Both Document Coverage and Compare are used inside WorkBench and are started by selecting one or more Source Documents and selecting the option in a context menu.
For information on binary and other frames types check our help section or search our blog.
Trouble Shooting Issues
If you are having issues with the install of Toolsuite, then try the following:
- Make sure your Windows platform is fully up to date including:
a. Visual V++ Redistributables (https://support.microsoft.com/)
b. ‘.NET’ (https://support.microsoft.com/) - Ensure the installed MS Office is fully up to date and check compatibility with Toolsuite here
- Ensure your old office keys are no longer in the Registry especially if you are using Click-to-Run versions
- Check the Compatibility tab in the Properties for the Toolsuite setup.exe. Select Change settings for all users and uncheck the Compatibility mode checkbox at the top of the dialog. Click the Apply button and OK to close Properties.
- Make sure you perform the install with System Administrator privileges not just logged in as an Admin user
If you are having issues after install then try the following:
- Make sure you have restarted your machine after the install
- Check you have opened your Office and registered it if you need to
- Check .Net framework and C++ redistributables are up to date
- Make sure your Toolsuite version is the same as your server version
If none of the above trouble shooting works then send an email to support@threesl.com with any logs created, exports and screenshots if possible.
For more information either look for blogs about the individual applications or see our online Help.